Copyright stuff:
This page and the Dust Boxer is a product of MouseWorks, a wholly owned subsidiary
of Windhaven Group, LLC. Owned and operated and managed. Mostly.
The content of this page belongs to Windhaven Group, LLC. You are welcome to use
it to build your own personal Dust Boxer or a whole farm of Dust Boxers.
Visit Jan's Journey for the adventures and stories (mostly true) of Jan and her faithful companion
Roni as they sail in their trusty wooden shoe Doublewide (in actual fact, a Performance Cruising Gemini 105Mc
catamaran) from Annapolis to Clear Lake, Texas! Follow the sailboat...
 .
.
But right now, let's build ....
The Dust Boxer
It fights dust, so you don't have to!
The prototype was built in 2005 and has been in use since.
I am allergic to any number of pollens, even to my dogs to some extent, but mostly to house dust
(mites). So I wanted to come up with a way to help minimize in the inside 'dust storm' that is
always a problem when people and/or animals live in a confined space. I find that it keeps the dust
down to a level where I never feel all that guilty about not dusting. There isn't much dust around
to feel guilty about. (It really does work that well.) When the sun comes in you never see that
'haze of dust' in the air...
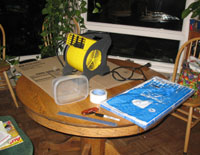
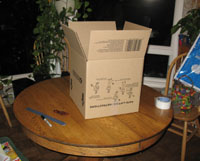
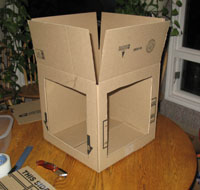
You can build the box out of anything you like, plywood, mahogany, hardened steel, all your choice,
but using a cardboard box is a pretty good place to start. I had the idea for this a few years ago,
but just never had the time to build it the way I envisioned... Carefully crafted 'woodworking'
techniquies... Finally light dawned on Marblehead (as a good friend of my likes to say), and need
overcame perfection and voila! The Dust Boxer was born!
Notes:
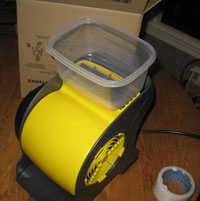
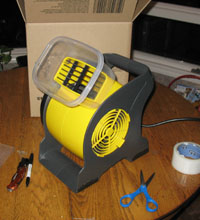
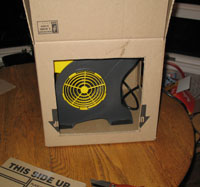
I run the blowers on low, as I don't want to overburden the motor. I'm not sure that is an issue,
however, given the way the thing is constructed, with the squirrel cage blower. Probably wouldn't
hurt, but I'm a conservative. Sort of.
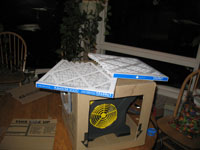
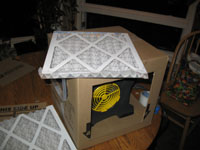
For this project I use one filter and cut it up. Why? Because I am a cheap-skate in some things.
The cost of a 12 x 12 inch filter is pennies less (sometimes even the same price) as a 12 x 24. The
really good filters are not cheap. I like the 3M filters best, and generally those are the ones
that I use. But I used a 'supermarket' filter here, because I wanted to get this page up and ready,
having promised it to a few folks (Hi Dr. Stein! Scott-O!)
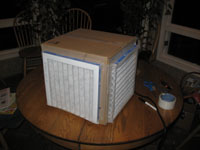
When the filters get dirty - probably every month or so depending, I just pull them off and tape on
new ones. When the box gets a little too weak, I make a new one, but they should last through
several filter changes. You could even reuinforce the holes, but I wouldn't bother. This project
too me 30 minutes, including setting everything up 'neat', and taking pictures too. Not much
effort.
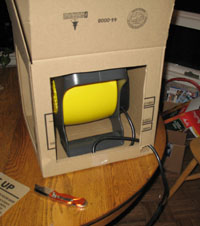
Getting the thing air-tight is not that important because the blower is so powerful it is going to
pull air through the filter anyway. If air is moving through the filter than you are getting
filtered air, even if every molecule isn't filtered. So you have a big net win.
Good luck, and have fun! This took me only 30 minutes to build, including taking pictures. But
I've built a few before.
Disclaimer: I do not work for, nor have any financial interest in, 3m. But I would work
for them if they asked me (so PLEASE if you are a recruiter for 3m, take note of this incredibly
talented and innovative (not to mention fashion conscious) Engineer who just loves 3m)... Seriously,
there is not a dud on their product list.
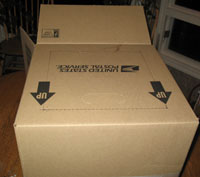
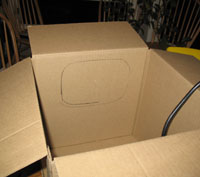
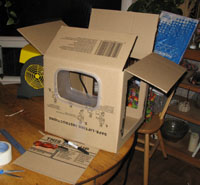
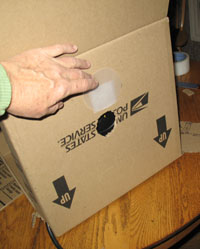
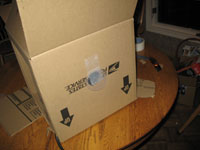
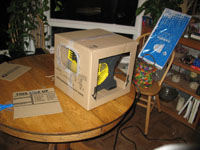
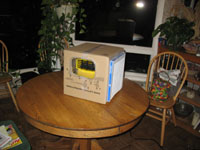
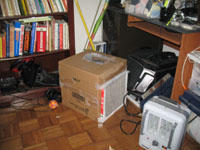
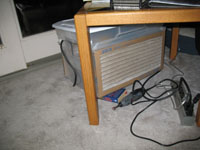
Manufacturing steps for the Dust Boxer
Click on pictures to see a larger image
(Then click on the larger image to come back here, or use the Aids to Navigation...)